With the homelab hardware set up, it is time to start preparing the machines so they can work together. As I intend to use my homelab as a safe and easy to use “IT playground”, I have decided that the following elements would need to be setup:
- Static IP address on each machine. This facilitates troubleshooting as well as easing the communication between the machines.
- Remote control software and SSH. This facilitates troubleshooting my “remote” machines without having to hook a keyboard+mouse+monitor to them.
- An Ads and Internet tracker blocking service. This should add extra network protection.
- Containerization software. This should facilitate the deployment of code as well as reduce issues with package dependencies.
1. Setting up static IP address (in Raspbian)
Setting up a static address in a Raspbian machine is quite straightforward.
- Get Raspberry Pi’s IP address by typing:
hostname -I. - Get my router’s IP address by typing:
ip r - Get Raspberry Pi’s DNS IP address by typing:
nano /etc/resolv.conf - Edit the following lines in the
dhcpcd.conffile by typing:nano /etc/dhcpcd.conf:
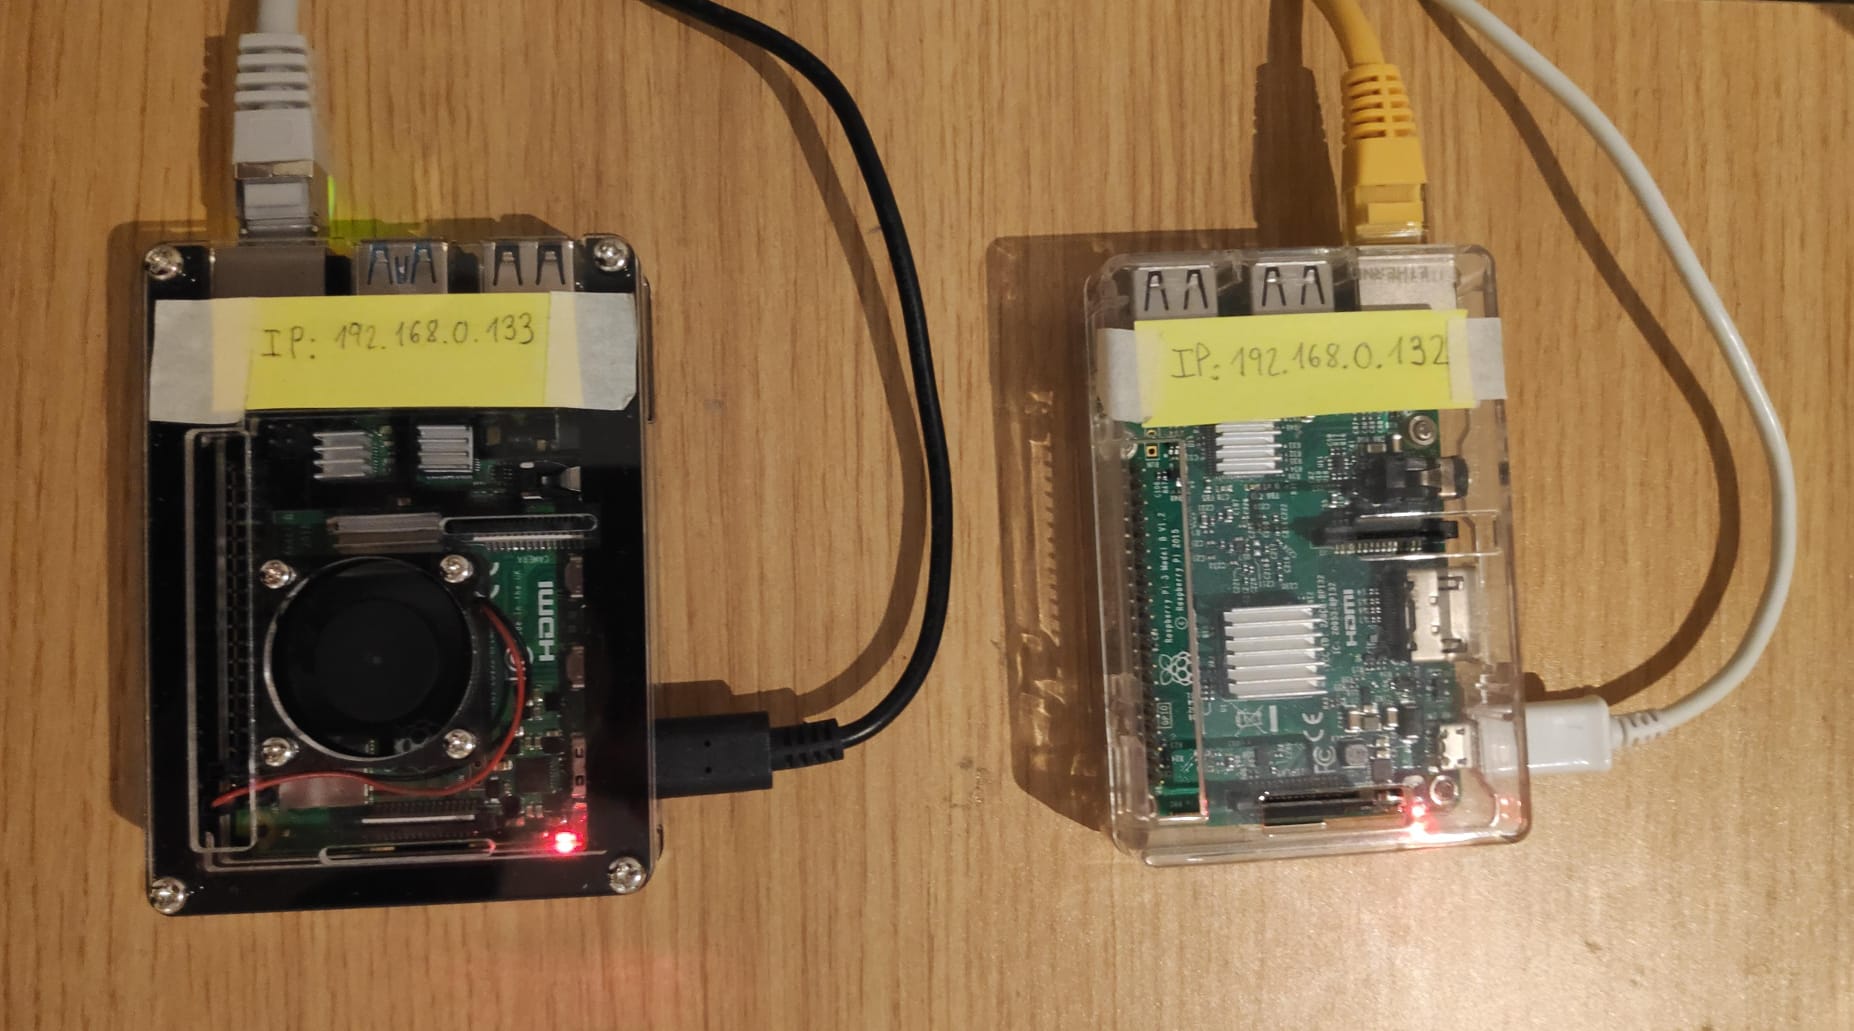
(Note that your IP address values may be different)interface eth0 static ip_address=192.168.0.132/24 static routers=192.168.0.1 static domain_name_servers=192.168.0.1 - Save changes by pressing
ctrl+x. - Restart the machine.
- (Optional) Add the static IP address tags to the machines.

2. Setting SSH and Remote control software
Follow next steps:
- Click main menu.
- Click
Preferences. - Click
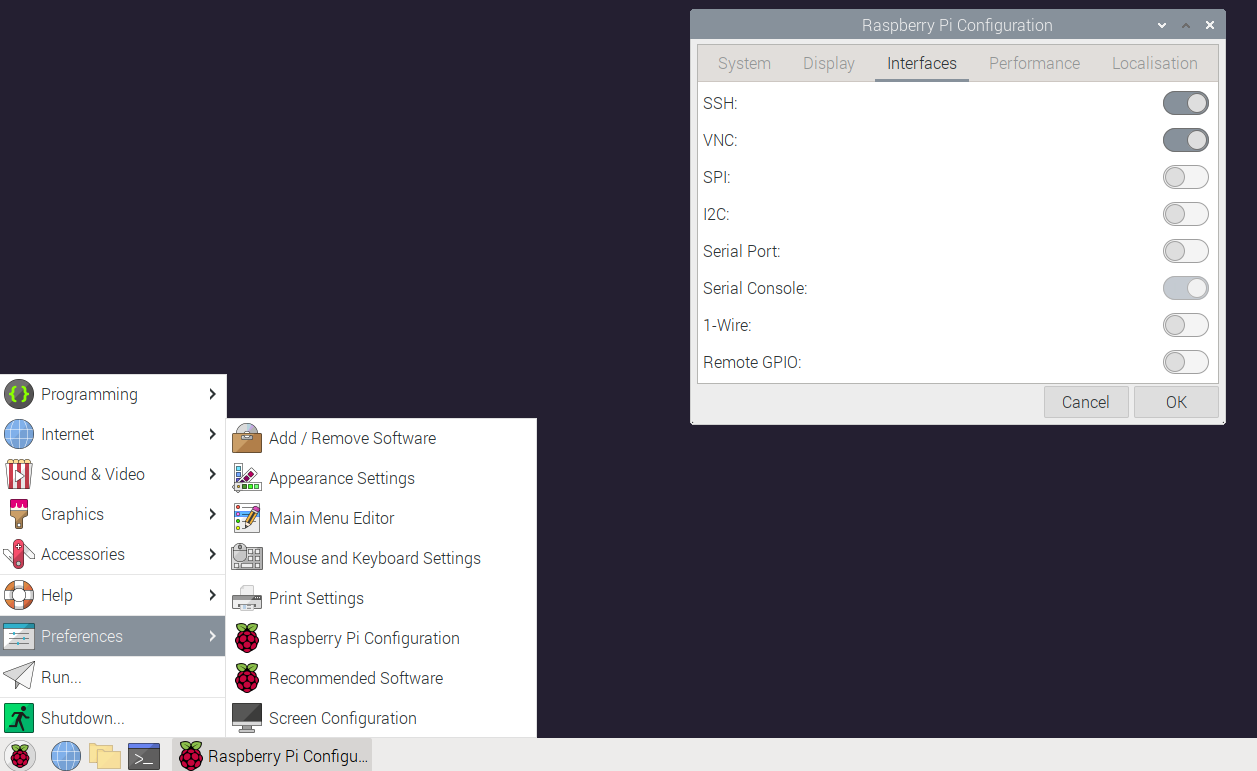
Raspberry Pi Configuration. - Select the tab
Interfaces. - Activate
SSHandVNC.
(Note that in order to connect via VNC, I will have to install a VNC remote control software. In my case, I use VNC viewer due to its simplicity and availability in my Ubuntu OS).
3. Installing Ads and Internet tracker blocking service (Pi-Hole)
Follow next steps:
- Visit https://docs.pi-hole.net/main/basic-install/ and follow the instructions.
- Visit https://firebog.net/ and note down the lists (urls) wanted to be added into Pi-Hole.
- Visit Pi-Hole’s address (http://192.168.0.132/admin in my case).
- Add noted down urls in the
Adlistsection. - Open a terminal window to add recently added lists to Pi-Hole by typing:
pihole -g. - Go into your specific router’s admin page and make sure to setup the Pi-Hole’s IP address as your primary DNS.
4. Installing Containerization software (Docker)
Follow next steps:
- Update package manager index:
sudo apt update - Upgrade packages:
sudo apt upgrade - Download Docker “installer” script:
curl -fsSL https://get.docker.com -o get-docker.sh - Execute Docker “installer” script:
sudo ./get-docker.sh - (Optional) Add user to Docker usergorub to avoid having to type
sudoeverytime a command needs to be executed:sudo usermod -aG docker [username]